

How Twisted Detection and Stealth Priority Work
Most Twisteds spot players through two overlapping zones: a long forward cone (direct vision) and a smaller circle centered around their body (circular vision). Solid map objects like walls and crates block a Twisted's line of sight even when props look semi-transparent, whereas machines do not block line of sight.
Whenever multiple players stand inside a Twisted's view, Stealth decides the target. Twisteds always lock onto the visible Toon with the lowest Stealth stat, regardless of distance. A 1-star Stealth Toon like Brightney or Gourdy (0 Stealth units) or Shrimpo (-99 units from his Bully passive) pulls aggro away from higher-Stealth teammates like Astro or Connie (5 stars / 20 units).
Once a Twisted locks onto you, it keeps chasing until you break line of sight and stay hidden long enough for its attention span to run out. If a teammate is actively running Twisteds in circles around a shelf or counter, steer clear so your lower Stealth does not pull the pack onto yourself.
Looping Obstacles, Stamina, and Lethal Threats
Loop tightly around a solid obstacle—hugging the edges and cutting straight across gaps toward corners—to break line of sight while conserving Stamina. Watch out for corner checking, where rushing blindly around a turn puts you face-to-face with another patrolling Twisted.
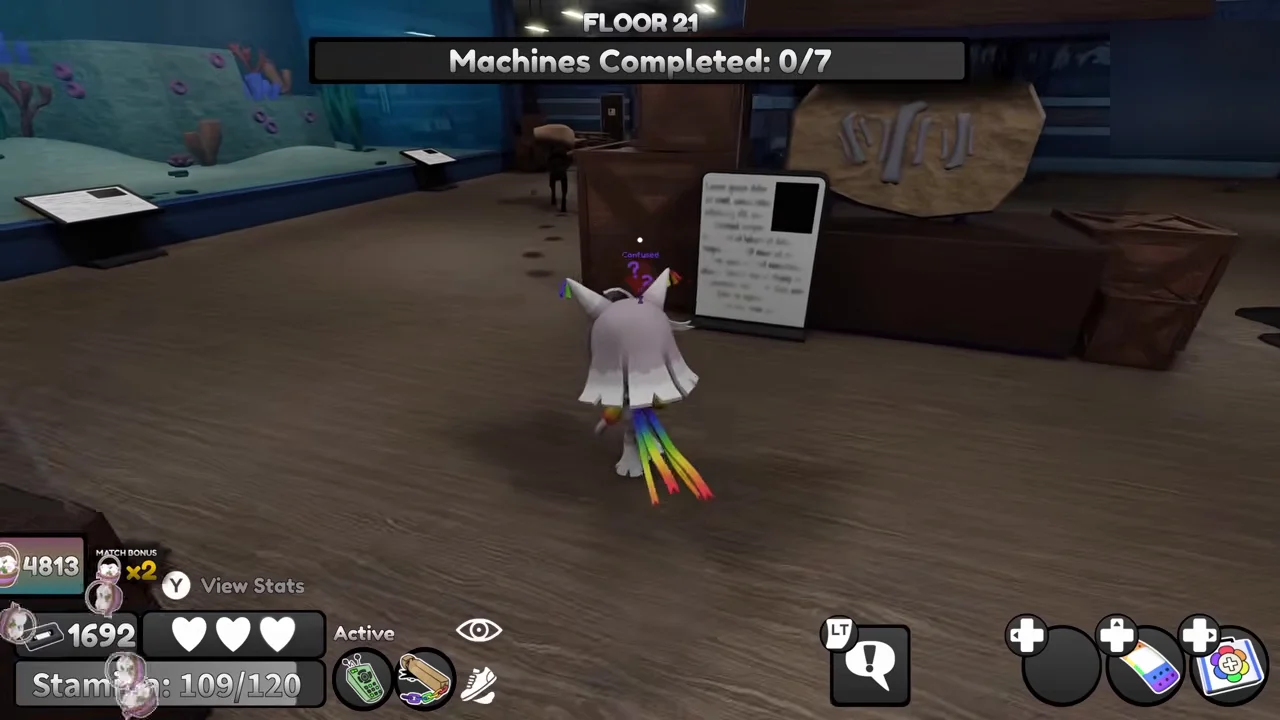
Manage your Stamina bar carefully: hitting 0 Stamina causes exhaustion and locks sprinting until Stamina recovers to 10 units.
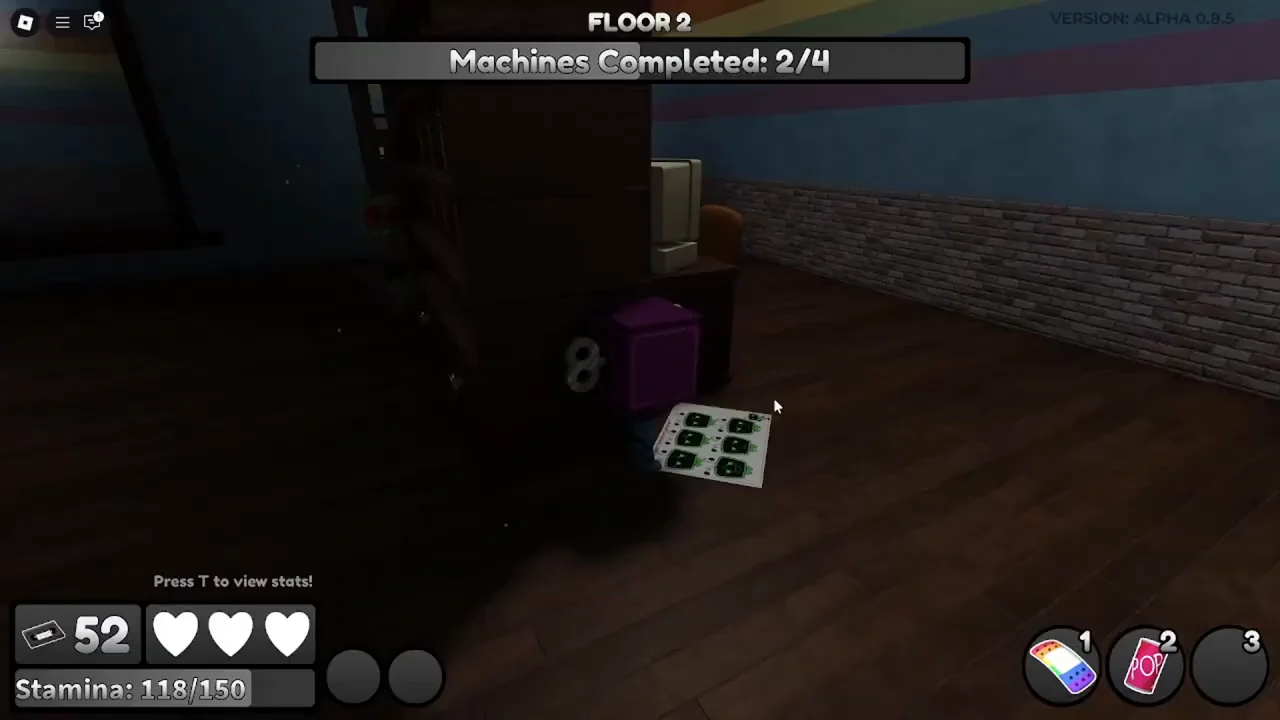
Finishing all machines starts Panic Mode:
- You have 30 seconds (up to 40 seconds with Decency and Etiquette Cards) to enter the highlighted Elevator.
- All Twisteds gain a 20% speed boost (15% with Suppression), though passive abilities from Gourdy, Shelly, and Finn can help offset that pace on completion.
- Missing the Elevator when the timer hits zero kills your Toon instantly, bypassing all remaining Hearts.
Watch out for two key dangers that punish careless movement:
- Lethal Twisteds (Twisted Dandy and Twisted Dyle): Contact removes all Hearts at once, killing any Toon in one hit.
- Twisted Rodger's Fake Capsules: Always inspect the middle of a Research Capsule before picking it up when Twisted Rodger is active; real capsules wrap video film around the center, whereas his fake capsule has no film.
Surviving Blackouts and Floor Events
Blackouts cannot happen before Floor 3. Starting on Floor 3, Blackout odds begin at 5% and climb by 2% per completed floor up to a 30% cap (or 25% max with +1.5% scaling if your team votes for the Electrician Card). During a Blackout, every environmental light turns off, limiting default Toon vision to a 25-unit radius.
| Light-Producing Toon | Default light color | Light radius | Blackout bonus |
|---|---|---|---|
| Brightney | White | 50 | Night Light highlights all Twisteds for 8 seconds |
| Eclipse | Blue | 50 | Gains 2 Stamina Stars (+60%) and buffs speed to 21 Walk / 33 Run |
| Astro, Connie, Soulvester | Blue / Cyan | 33 | Extra vision radius for guiding teams |
| Vee, Rudie | Green / Red | 30 | Larger light cone or aura than standard Toons |
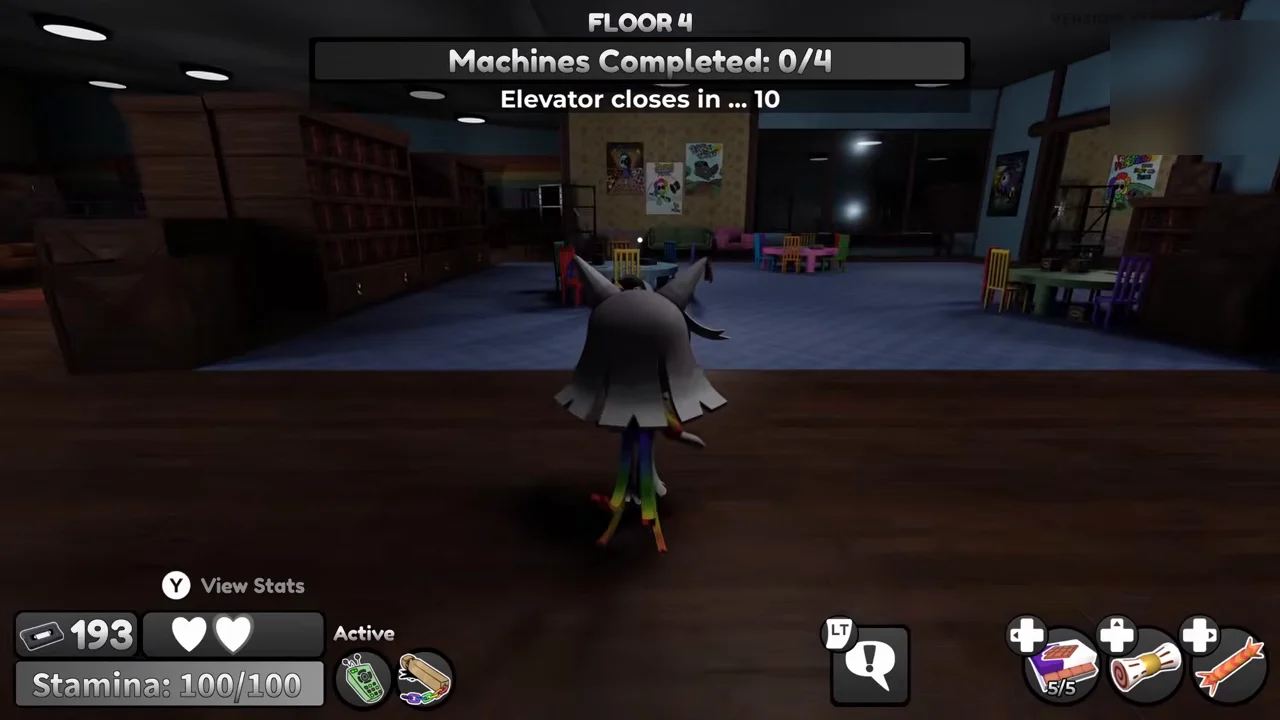
Be extra alert if Twisted Coal is on a Blackout floor, because her speed surges from 16 up to 25, matching Twisted Bobette, alongside a wider detection range. During any Blackout, hold 50–70 Stamina in reserve in case you trigger multiple Twisteds at once, and consider equipping Spare Bulb for a wider light radius or Party Popper to highlight nearby Twisteds when you start a machine.