








Fisch blends relaxing casting with island exploration, rare fish collecting, and steady gear upgrades across a wide ocean map. Rather than staying at one dock forever, you catch fish to earn cash, unlock better rods and boats, fill regional bestiaries, and chase weather events across dozens of islands.
How Fishing and Core Mechanics Work
Every session follows a simple loop: explore an island, cast your line into the water, sell catches for cash, upgrade your rod or boat, and push into deeper zones. One full day-and-night cycle lasts roughly 25 minutes, split into about 12.5 minutes of daytime and 12.5 minutes of night. Knowing that clock helps later because certain fish, events, and rod enchanting only happen after dark.
You begin at Moosewood with the Flimsy Rod for free. Its starting stats sit at zero across Lure Speed, Luck, Control, and Resilience, paired with a tiny 10.4kg Max Kg limit. Your first goal is earning enough cash to replace it before buying anything else. Before spending hard-earned coins, check each rod's stats in your equipment bag, and note that the Steady Rod raises your max Kg alongside Control and Resilience.
Step-by-Step Early Progression Path
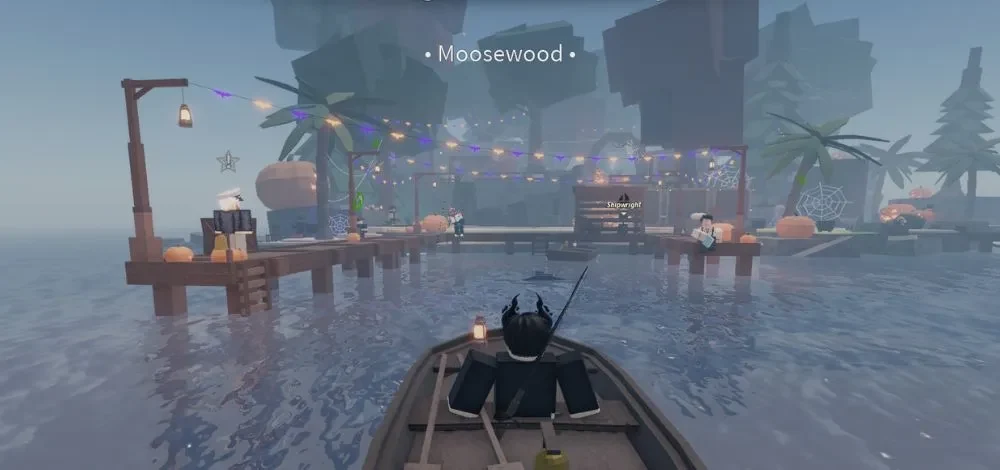
Claiming Starter Perks and Free Codes
Right after spawning at Moosewood, open the menu at the top of your screen and scroll to the bottom for the codes box and community group reward button. One YouTube beginner walkthrough notes that claiming the group reward grants a helpful early coin boost, while active codes often hand out bonus items without spending any cash.
Early Rods: Carbon Rod, Magma Rod, and Steady Rod
- Save up 2,000C$ at Moosewood to buy the Carbon Rod. It jumps your Max Kg from 10.4kg to 600kg while adding 25% Luck, 0.05 Control, and 10% Resilience (with -10% Lure Speed).
- Skip the 300C$ Training Rod, because its -70% Luck and 9kg weight cap give it poor overall stats.
- Once you unlock a boat (typically starting with the rowboat around level five or ten at the Shipwright), sail to Roslit Bay to grab free quest perks or buy your next major rod upgrade.
- At Roslit Bay, the Steady Rod can be bought from the NPC Alfie for 7000 Cash in early-game guides (note that later tier lists also list higher updated values in some patches).
One community beginner video on YouTube also highlights a free quest shortcut: pick up the message in a bottle on the north side of Moosewood, follow the path to the white crate behind Roslit Bay for quick early levels, and speak with Orc near the volcano tunnel to catch a pufferfish for the Magma Rod. The Magma Rod is free from Orc's quest, offers 25% Lure Speed, 15% Luck, 0.15 Control, 1,200kg Max Kg, lets you fish in lava, and gives a 5% chance for the Ashen Fortune mutation (though one YouTube breakdown mentions an Ember passive variant as well).
Exploring Islands, Boats, and Bestiary Progress
Fisch features 29 islands and distinct zones, each with local NPCs, quests, and unique fish pools. Buying a faster boat at the Shipwright cuts travel time sharply once you leave Moosewood, and picking up a GPS helps you read coordinates when tracking down caves and hidden vendors.
Key Locations Worth Visiting Early and Mid-Game
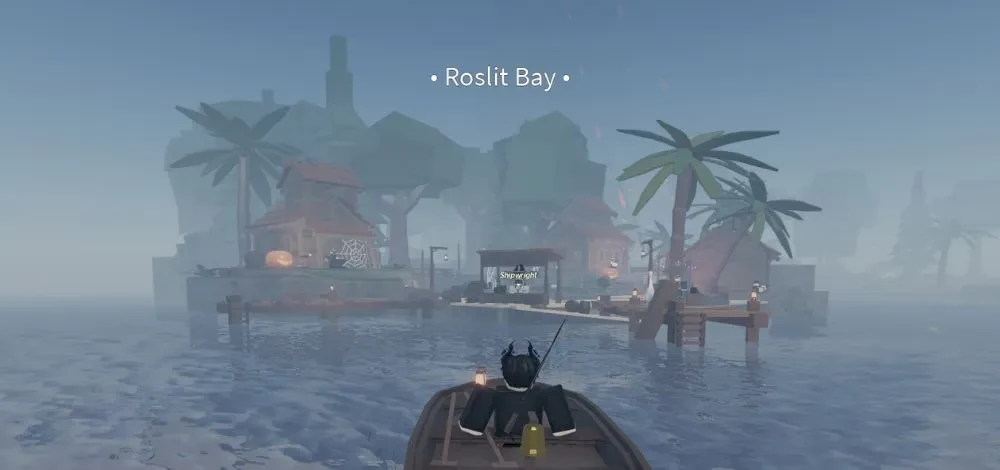
- Moosewood: Your starting hub with the starter merchant and the appraiser NPC who can give your fish a mutation.
- Roslit Bay: Home to Coral Reef waters, Roslit Volcano, and the Steady Rod vendor Alfie.
- Sunstone Island: Holds Merlin's hut up the ladder (where Enchant Relics are sold) and a nearby cave holding the Sundial Totem.
- Forsaken Shores: Features a mountain fountain pond famous for catching the Captain's Goldfish.
- Ancient Isle: Found in the far east between Snowcap Island and Mushgrove Swamp, surrounded by dangerous whirlpools that can sink boats. It hosts the Ancient Archives crafting area where you can craft rods.
- Desolate Deep: An underwater zone requiring diving gear; advanced diving gear is sold right inside for 15,000C$, leading toward the Brine Pool and the Aurora Totem cave.

- Vertigo and The Depths: Entered by jumping into a swirling strange whirlpool out at sea, dropping down to complete the Vertigo Bestiary, and unlocking the door to The Depths.
Using the Bestiary and Baits Effectively
Your Bestiary acts as an in-game logbook that tracks every species you reel in across each region. Every entry notes rarity alongside preferred bait, time of day, season, and weather conditions. Whenever you hunt a specific species to finish a regional Bestiary, check those preferences first instead of casting blindly.
Baits directly alter which fish bite and improve rod stats during a cast. Matching the right bait from crates saves time when finishing tough regional Bestiaries.
Making Money and Using the Personal Aquarium
Selling fish to merchants forms the backbone of your economy, and mutated catches can sell for up to 6.5 times their usual value.
Mutations and Appraisal
Mutations change both how a fish looks and how much cash a merchant pays for it. You can hook mutated fish naturally through rod passives or weather events, or visit the appraiser NPC at Moosewood to spend cash for a chance at a better mutation. For example, the Trident Rod carries a 30% chance to apply the Atlantean mutation, multiplying a fish's sale price by 3 times.
Top Early-to-Late Money Spots
- Early Game: Farm Roslit Bay Coral Reefs for Manta Rays and Dumbo Octopuses, or head to the Forsaken Shores pond for the Captain's Goldfish.
- Cryogenic Canal, Grand Reef, and The Depths: Push into the Cryogenic Canal in Northern Expedition (for Aurora Trout and Glacial Sturgeon at night), the Grand Reef near Forsaken Shores (for Grand Reef Guardian and Coral Emperor in any weather), and The Depths (for Barreleye fish, Mutated Shark, and Sea Snake, plus the exotic Ancient Depth Serpent during the absolute darkness event).
Passive Income from Your Aquarium
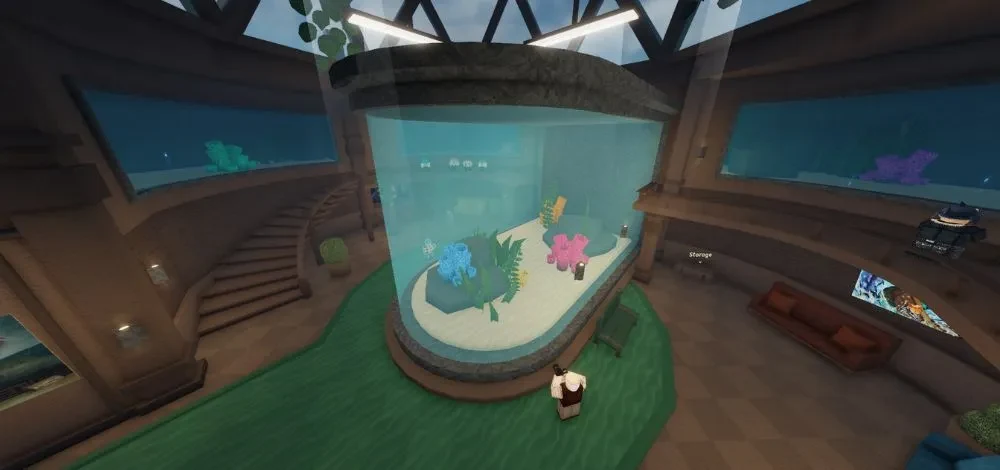
Once you reach level 25 (according to one YouTube progression guide), you unlock access to the Personal Aquarium hub. You can place up to 10 fish inside your Aquarium to earn passive cash and XP every hour.
Mid-Game to Endgame Rod Milestones
Several mid-game and late-game rods stand out as you progress:
- Depthseeker Rod: Sold in front of the Merchant inside Atlantis under the Grand Reef, offering 55% Lure Speed, 70% Luck, 0.17 Control, 25% Resilience, and 50,000 Max Kg.
- Champions Rod: Found beside the Inn Keeper at Atlantis with 45% Lure Speed, 65% Luck, 0.25 Control, 30% Resilience, and 200,000 Max Kg.
- Trident Rod (150,000C$): Provides 25% Lure Speed, 150% Luck, 0.05 Control, 0% Resilience, 6,000kg Max Kg, stuns fish, and applies the Atlantean mutation 30% of the time.
- No-Life Rod (Free at Level 500): Delivers 90% Lure Speed, 105% Luck, 0.23 Control, 10% Resilience, infinite Max Kg, fish stuns, and a 50% chance for Hexed mutations.
- Seraphic Rod (Free at Level 1000): Features 95% Lure Speed, 150% Luck, 0.25 Control, 20% Resilience, infinite Max Kg, 60% faster progress speed, and a 30% chance for the Blessed mutation.
Enchanting Rods and Using Weather Totems
Once you own a strong mid-game or late-game rod, enchanting lets you patch weak stats or boost profits further. Enchanting requires an Enchant Relic (caught by fishing or bought from Merlin on Sunstone Island) and 400 cash for the elevator ride down to the Keeper's Altar under the Statue of Sovereignty at coordinates X= 20, Y= 160, Z= -1040.
Climb the ladder behind the Shipwright into the Sovereignty Mines, buy an elevator token from Cole for 400 cash (do not jump down the shaft, because the fall kills you), step onto the altar pedestal at night, hold your relic, and long-press E to enchant the rod equipped on your back. Because enchanting only works at night, carrying Sundial Totems helps you skip daytime quickly.
Totems are items that shift server time or weather conditions. A Sundial Totem (found in a cave east of Merlin's hut on Sunstone Island) advances the day-and-night cycle, while an Aurora Totem (found in a cave near the Brine Pool entrance in Desolate Deep) boosts server luck by 6x or 7x depending on the update. Totems can raise fish hunt event odds, and teaming up with at least 5 friends to buy and use Aurora Totems together helps make sessions profitable.
FAQ
What is the best first rod to buy in Fisch?
Save 2,000C$ at Moosewood for the Carbon Rod first, then upgrade to the Steady Rod at Roslit Bay once you unlock a boat. Both give huge Max Kg jumps over the free Flimsy Rod.
How long is a full day and night cycle?
One complete cycle lasts roughly 25 minutes, giving you about 12.5 minutes of daytime and 12.5 minutes of night. You can speed this up using a Sundial Totem.
Can you enchant any rod during the day?
No, the Keeper's Altar inside the Sovereignty Mines only lets you roll enchantments at night. Wait for sunset or trigger a Sundial Totem before stepping onto the pedestal.
How does the Personal Aquarium help beginners?
After unlocking the Aquarium around level 25, placing up to 10 fish inside generates hourly cash and XP automatically while you explore or fish elsewhere.